Basics

<< Click to Display Table of Contents >>

Navigation:  Operating PDFBUNDLE > Signing >

Basics


clip0005

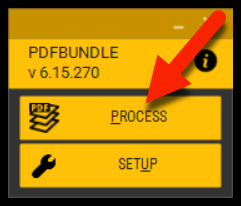
Click on the PROCESS button.


clip0007

Check the SIGN box to access all documents signing options in the top menu bar.


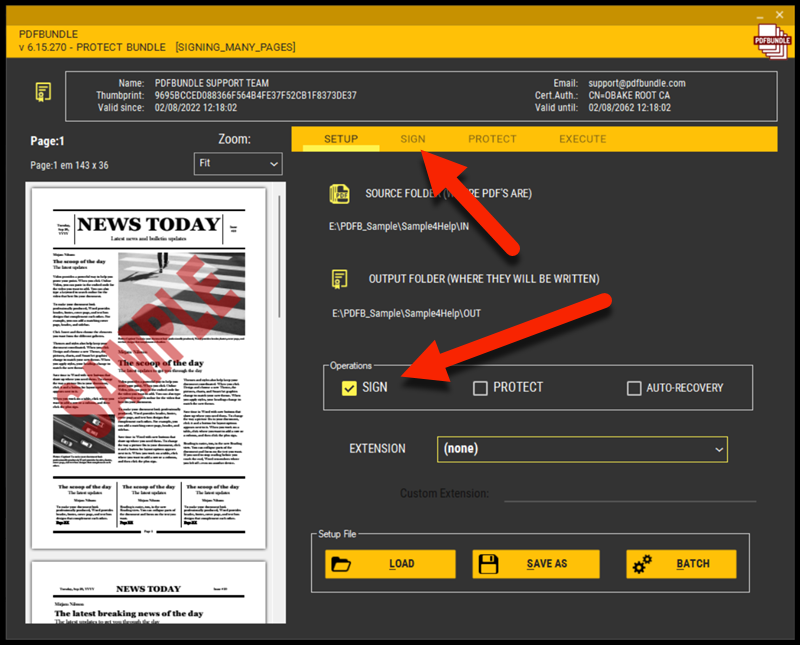
Once you had selected "SIGN" in the menubar, scroll down the sidebar until you see the image below:


clip0008

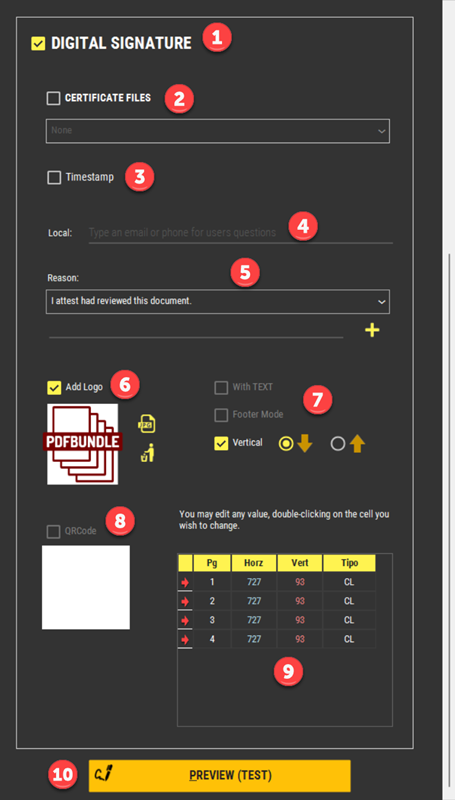
1.DIGITAL SIGNATURE: you must select this option to sign any document, even if it is an invisible signature.


2.CERTIFICATE FILES: when you certificate a file, you can get some restrictions to that document, as follows:


a.Allow Comments, Forms, Signing fields: it will allow posterior OCR, fields, comments, other Signatures, etc. This is the most relaxed mode. Warning: OCR information can be erased in this mode. Perform a PREVIEW before proceed and check if OCR is still valid.


b.Allow Forms Fill-In and Digital Signatures: it will allow posterior OCR, fields and other Signatures. Warning: OCR information can be erased in this mode. Perform a PREVIEW before proceed and check if OCR is still valid.


c.No Changes Allowed: use this option to prohibit any modification in files after signing; otherwise, the signature will be invalidated. Warning: OCR information can be erased in this mode. Perform a PREVIEW before proceed and check if OCR is still valid.


3.TIMESTAMP: using this option, all signatures will be stamped with DATETIME from an official Timestamp server (see SETUP for details). Warning: since this data is taken from external internet servers for each file, the TIMESTAMP strongly downgrades the PDFBUNDLE performance.


4.LOCAL: you can inform any data here. Usually, location data is set here (e.g.:  Branch East - New York (NY) - USA).


5.REASON: in general, signatures must reflect what exactly they are evidencing, as an authoring, a review, an agreement, etc. Select the most appropriate reason, or inform a new one typing in the line below, pressing the plus symbol at the end.


Optional LAYOUT settings are available too:

6.LOGO: you may utilize (or not) a visible LOGO in your signature, like your company or client's LOGO. We recommend an JPG image with 90x90 but you can set other sizes to adapt the visible signature or QR-Code (if selected).


7.TEXT + SIGNATURE OPTIONS: the signature may be placed using additional five different layout types, all of them related to TEXT. In this case, the signature will show the same data existent on the Digital Certificate, with minor variation among the different types.


8.QR-CODE: you may put the signature data in QR-Code format. Doing so, a code will be placed at the right side of the LOGO. You can also mix QR-CODE and TEXT, but neither FOOTER nor VERTICAL types are allowed w/QR-CODE.


9.SIGNATURES GRID: this grid shows the signature properties on page(s). It shows the PAGE, its position on the horizontal/vertical axis (X/Y) and the signature TYPE. You can change any parameter directly in this grid or, if necessary, delete all settings by selecting the correspondent row (click on the red arrow in the first column) and pressing DEL. If you need to change the signature TYPE (style), choose one of the options in this column:  


TYPES (styles):


B= Vertical Bottom-Top

C= Vertical Top-Bottom

L= Logo

M= Footer

Q= QR-Code

T= Text


10.PREVIEW: This is the way to check if your settings are according to your needs. You can change any setting and press PREVIEW at any time to check the results. PREVIEW doesn't need to work on all files, but only the first one in your package. Use it extensively.


In the next topics you will learn how to sign your documents.